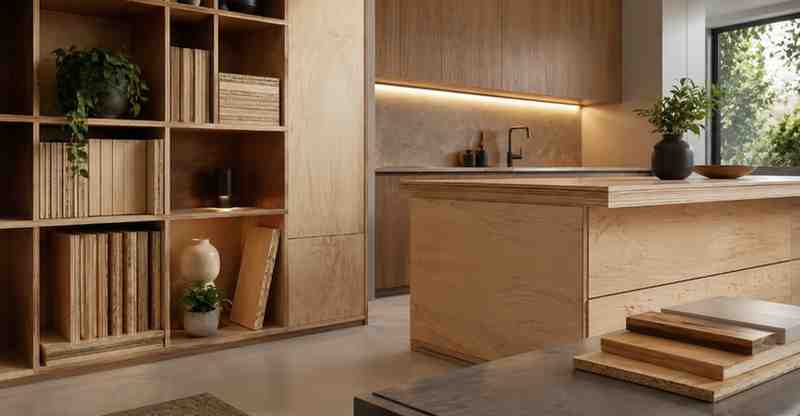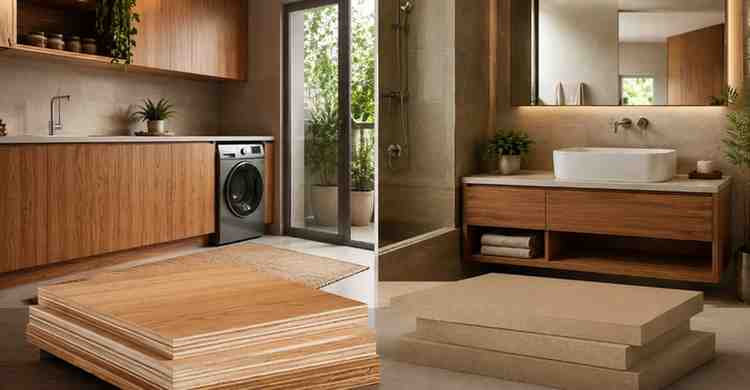
Plywood is an incredibly versatile material for furniture making. Its durability, strength, and affordability make it a popular choice for creating everything from bookshelves to tables and chairs. Whether you’re a DIY enthusiast or a professional furniture maker, learning how to work with plywood can lead to impressive, long-lasting pieces. In this blog, we’ll explore tips and tricks to help you craft durable plywood furniture that stands the test of time.
Why Choose Plywood for Furniture?
Before we dive into the tips, it’s essential to understand why plywood is such a reliable material for furniture making:
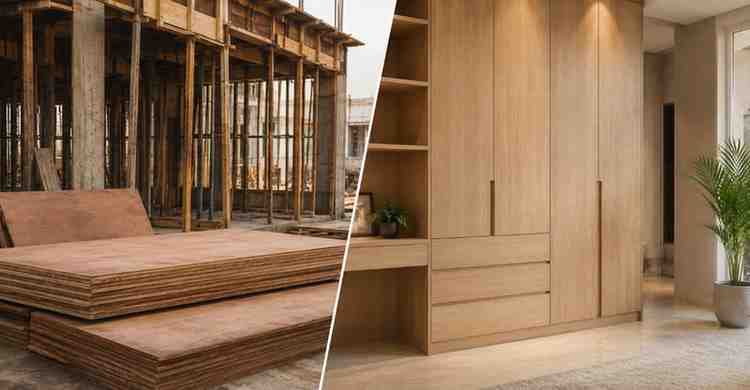
- Strength and Durability: Plywood is made by layering thin sheets of wood, which are glued together in alternating grain patterns. This construction gives it exceptional strength, especially in comparison to solid wood of the same thickness.
- Affordability: Plywood is more budget-friendly than solid hardwood, making it a great option for both small-scale and large projects.
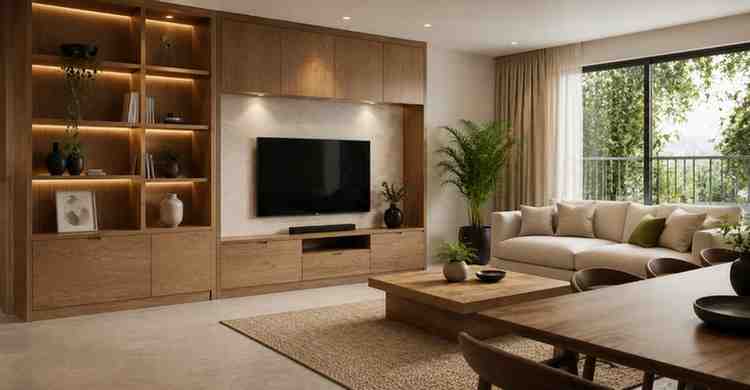
- Flexibility: Plywood can be used for various furniture pieces, including shelving, cabinetry, tables, and chairs. It can also be easily cut, stained, painted, or laminated to match different design aesthetics.
- Sustainability: If sourced from sustainable forests, plywood can be an eco-friendly choice compared to solid wood furniture, as it uses smaller, fast-growing trees.
Tips for Making Durable Plywood Furniture
To ensure the durability of your plywood furniture, follow these key tips during the design and construction phases.
1. Choose the Right Plywood Grade
The first step to making durable plywood furniture is selecting the right plywood grade for your project. Plywood comes in various grades, which determine its quality, strength, and finish.
- Grade A: The highest quality plywood with a smooth, blemish-free surface. It’s perfect for furniture pieces that require a high-end finish, such as tabletops or visible shelves.
- Grade B: A good balance between quality and cost, with a slightly rougher finish. It’s suitable for furniture where aesthetics aren’t as critical, such as hidden structural components.
- Grade C and D: These grades are best for applications where the surface will be covered, such as cabinets or structural panels.
Tip:
For maximum durability and a professional finish, opt for marine-grade plywood or BWP (Boiling Water Proof) plywood, especially for pieces that will experience moisture exposure or weight stress.
2. Use Proper Joinery Techniques
The strength of your plywood furniture depends heavily on how the pieces are joined. While nails and screws can work for quick projects, stronger joinery methods will provide long-lasting durability.
- Dowels and Biscuits: These are excellent for joining plywood panels together. Dowels provide a strong connection that can hold a lot of weight, while biscuits are easy to use and help align the pieces.
- Pocket-Hole Joints: Pocket holes are perfect for joining plywood panels at a 90-degree angle, such as when making a table or cabinet.
- Dovetail Joints: For fine cabinetry, dovetail joints offer strength and visual appeal. They’re also great for drawers.
- Finger Joints: These interlocking joints provide a large surface area for bonding, ensuring a strong and stable connection.
Tip:
To enhance the strength of your joints, use wood glue in addition to nails or screws. Be sure to clamp the joints while they dry for a stronger bond.
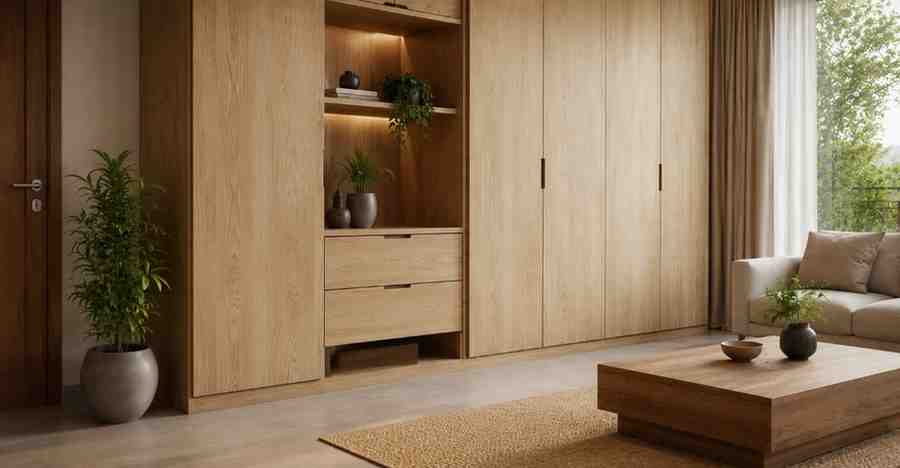
3. Reinforce with Edge Banding
Plywood edges can often appear rough or unfinished, especially when cut. This can detract from the overall durability of the piece, as exposed edges are more prone to damage. Applying edge banding is a simple way to reinforce and beautify the edges.
- Wood Veneer Edge Banding: A great option for making plywood edges look like solid wood, veneer banding can be easily ironed or glued onto the edges.
- PVC Edge Banding: If you’re looking for a low-maintenance, moisture-resistant option, PVC edge banding is durable and easy to apply with a heat tool.
Tip:
Use edge banding that matches your plywood’s finish for a cohesive, professional look.
4. Sand and Finish Properly
Proper sanding and finishing are key to both the aesthetics and durability of your plywood furniture. Sanding ensures a smooth surface for painting or staining, while finishing helps protect the plywood from moisture, dirt, and wear.
- Sanding: Start with a coarse sandpaper (around 80-grit) to remove rough edges and surfaces, then gradually move to finer grit (220-grit) to achieve a smooth finish. Always sand in the direction of the wood grain to avoid scratches.
- Staining or Painting: Stain or paint the plywood to enhance its color and protect it from environmental elements. Use a high-quality primer before applying paint to ensure good adhesion.
- Finishing with Clear Coats: Once your paint or stain has dried, apply a clear polyurethane finish to seal and protect the surface from scratches, water damage, and everyday wear and tear.
Tip:
For outdoor or moisture-prone furniture (such as outdoor tables or bathroom cabinets), use marine-grade varnish or waterproof polyurethane for added protection.
5. Consider Plywood Thickness for Strength
When making plywood furniture, the thickness of the plywood can significantly impact the strength and stability of the final piece. Thicker plywood is more durable and can support more weight, but it’s also heavier and more challenging to work with.
- For larger furniture pieces like tables and cabinets, 18mm (3/4-inch) plywood is typically the best choice.
- For smaller furniture like shelves, 12mm (1/2-inch) plywood is usually sufficient.
- 6mm or 9mm plywood works well for thinner components or decorative accents but may need to be reinforced for larger projects.
Tip:
Use thicker plywood for structural components and thinner plywood for decorative parts to balance durability and ease of handling.
6. Strengthen with Braces or Supports
If your furniture design requires larger spans, such as bookshelves or tables, consider reinforcing the plywood with internal braces or supports. For example, adding cross braces or a center support can prevent sagging over time, especially with heavy items placed on top.
- Metal Braces: For additional support, metal L-brackets or corner braces can be installed at the corners or along the back of the furniture.
- Plywood Braces: Use additional plywood strips cut to size and secured along the back or sides to improve stability.
Tip:
For bookshelves or any furniture that will carry significant weight, don’t skip the reinforcement. It’s better to overbuild for durability than to risk sagging or instability.
7. Test the Furniture for Stability
Once your furniture is assembled, take the time to test its stability. Apply pressure to various areas, check for any movement or wobbling, and ensure that joints and fastenings are secure.
Tip:
If you notice any instability, tighten the screws or apply additional wood glue to strengthen the joints. You can also add extra support if needed.
Conclusion
Building durable plywood furniture involves careful planning, the right materials, and attention to detail throughout the process. By selecting the right grade of plywood, using proper joinery techniques, reinforcing with edge banding, and applying finishes correctly, you can create beautiful, long-lasting pieces that stand up to everyday wear and tear.
For high-quality plywood that will give your furniture projects the durability and strength they need, check out Wigwam’s plywood collection. Whether you’re creating a modern coffee table or a custom bookshelf, Wigwam’s top-notch plywood ensures you’ll have the best materials for your next project.
By following these tips and tricks, you’ll be well on your way to crafting durable, beautiful plywood furniture that will last for years to come.