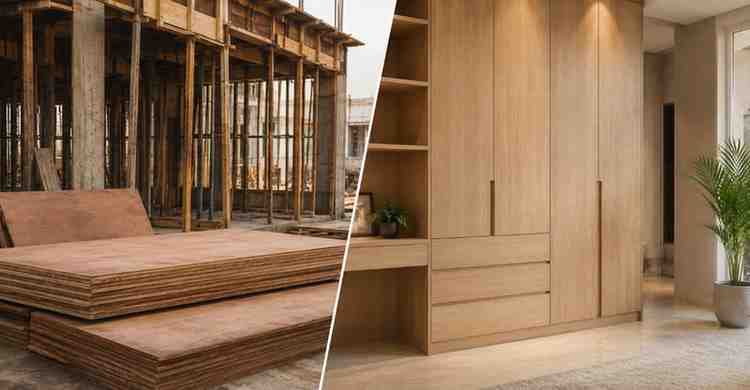
When it comes to furnishing your home, one of the biggest challenges is balancing style, durability, and budget. While high-end furniture can be expensive, plywood furniture offers a cost-effective and stylish solution without sacrificing strength or longevity. Whether you’re looking to create a statement piece or furnish an entire room, plywood provides the versatility and reliability to bring your vision to life.
This guide will walk you through the process of building stylish and durable plywood furniture on a budget, providing tips and tricks for making the most out of your materials, tools, and design ideas.
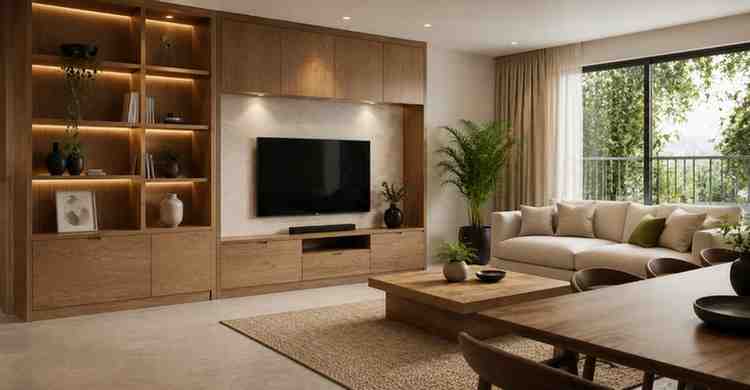
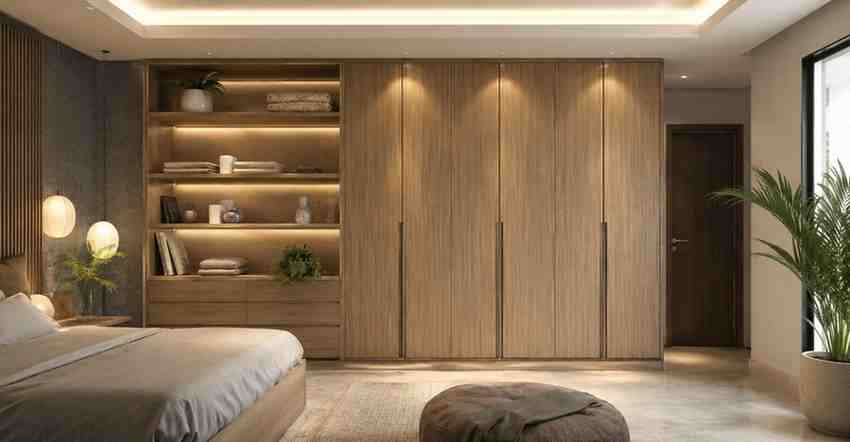
Why Choose Plywood for a Furniture Building?
Plywood is a preferred material for many DIY furniture projects, thanks to its many benefits:
- Affordability: Compared to solid wood and other premium materials, plywood is budget-friendly and widely available.
- Strength and Durability: Despite its lower price point, plywood is incredibly strong. It’s made by bonding multiple layers of wood veneer together, which enhances its resilience.
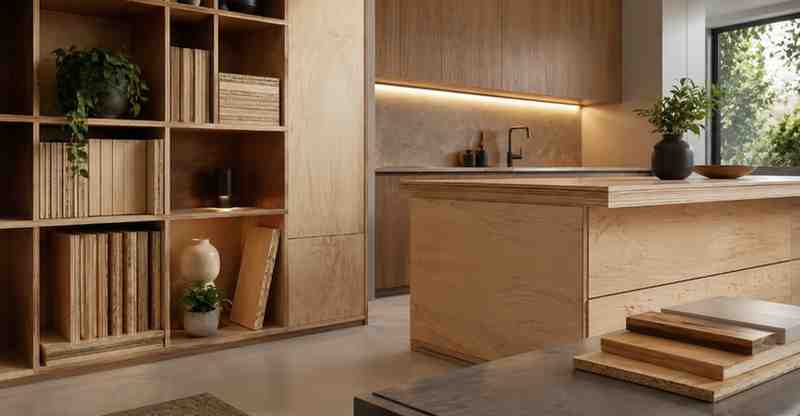
- Versatility: Plywood can be easily cut, shaped, and finished to create a wide range of furniture styles, from rustic to modern.
- Ease of Use: It’s a material that works well with basic woodworking tools, making it accessible even for beginners.
Step 1: Plan Your Design and Gather Materials
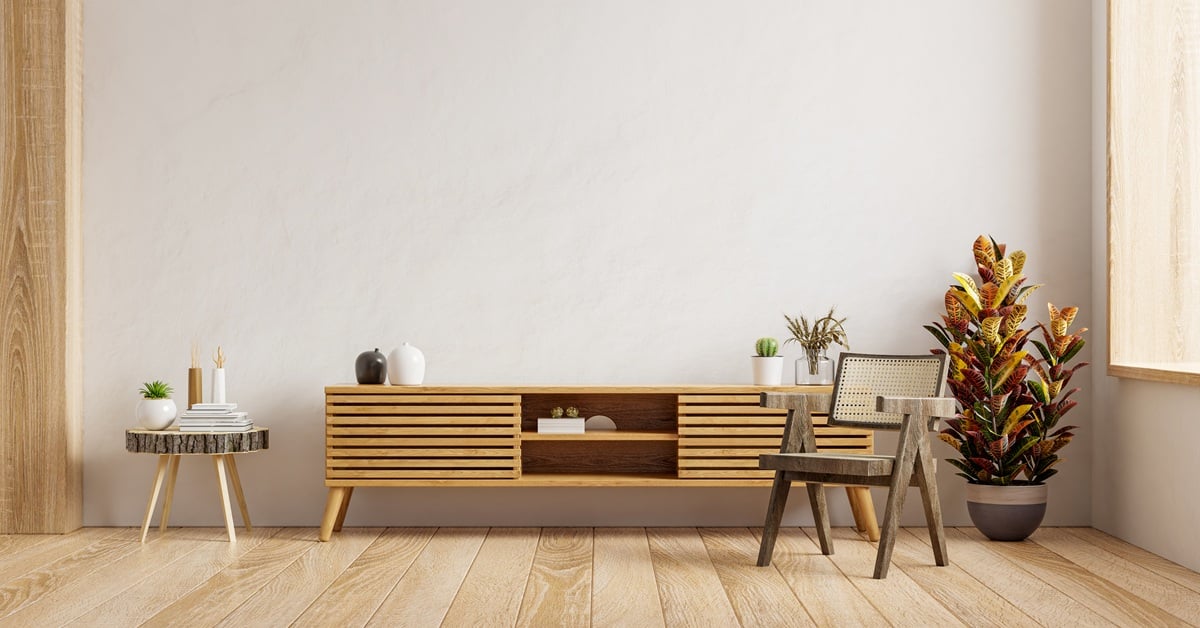
The first step in building plywood furniture on a budget is planning. Start by deciding what type of furniture you want to create. This could be a bookshelf, a coffee table, a desk, or even a set of chairs. The beauty of plywood is that it can be used for all these items and more.
Things to Consider:
- Dimensions: Make sure to measure your space carefully. You want to ensure that the furniture fits the intended area and meets your functional needs.
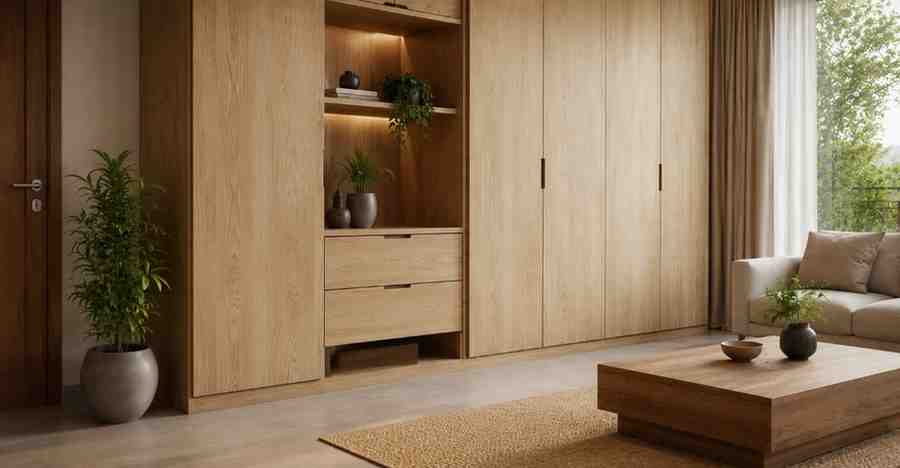
- Design Style: Plywood can be adapted to many design aesthetics. A clean, minimalist look can be achieved by keeping edges sharp and straight, while more rustic pieces can have rough, unfinished edges.
- Budget: Set a budget for your project. Plywood is cheap, but you may need additional materials like screws, wood glue, or finishing products like paint or varnish. Factor these costs into your budget.
Materials You’ll Need:
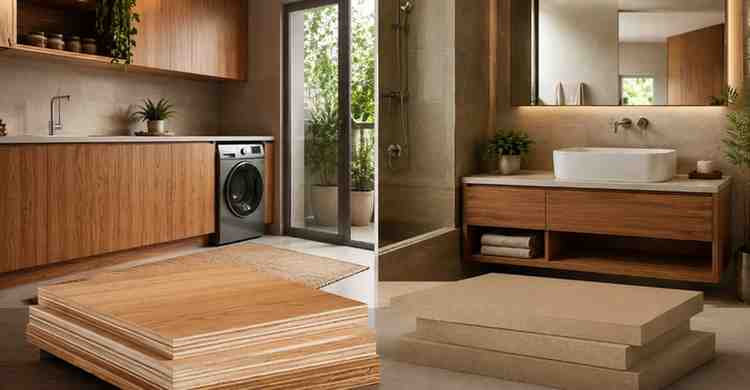
- Plywood Sheets: Choose the thickness based on the type of furniture you’re making. For furniture like chairs and tables, ½” to ¾” thick plywood is often ideal.
- Wood Glue: Essential for bonding pieces together.
- Screws and Nails: For assembly and reinforcement.
- Sandpaper or Sander: To smooth out edges and surfaces.
- Paint, Stain, or Varnish: To finish the piece and enhance its durability.
- Optional Hardware: Depending on the piece, you may want hinges, drawer slides, or handles.
Step 2: Cutting and Shaping the Plywood
Once your design is ready and materials are gathered, it’s time to start cutting and shaping your plywood. Depending on the complexity of your project, you may need a variety of cuts—straight, curved, or beveled.
Basic Cutting Tips:
- Use a Circular Saw: This tool is perfect for making straight cuts in plywood. Ensure you use a fine-toothed blade for a smoother finish.
- Jigsaw for Curves: If your design includes rounded corners or curved shapes, a jigsaw is ideal. It allows you to cut intricate curves with precision.
- Measure Twice, Cut Once: Always double-check your measurements before making any cuts. This helps avoid mistakes and saves material.
- Use a Guide: When cutting straight lines, use a fence or a guide to ensure your cuts are even and accurate.
If you’re working with large sheets of plywood, make sure you have a clean, stable surface to work on, such as a workbench or sawhorses.
Step 3: Assemble the Furniture
Now comes the fun part—assembling your pieces! Depending on your design, you may have different components like a base, shelves, sides, or legs to join together. Here’s how to go about it:
Joining the Pieces:
- Wood Glue: For a strong bond, apply wood glue to the edges of the plywood pieces before joining them together. Make sure to clamp the pieces tightly while the glue dries to ensure a solid bond.
- Screws or Nails: After the glue has dried, reinforce the joints with screws or nails. For a clean, professional look, use screws that are the same color as your plywood or use a countersink drill bit to hide the screw heads.
- Corner Brackets or Reinforcements: For added stability, consider using corner brackets or metal reinforcements, especially for large or heavy pieces.
Dealing with Edges:
Plywood edges are often rough, so it’s important to smooth them out or cover them for a cleaner look. Here are some options:
- Edge Banding: This is a thin strip of wood or veneer that you can apply to the edges of your plywood. It provides a finished look and hides the raw plywood layers.
- Rounded Edges: Use a router or sandpaper to round off the edges for a softer, more refined look.
Step 4: Sand and Finish the Plywood Furniture
Sanding and finishing your plywood furniture not only improves its appearance but also enhances its durability and longevity.
Sanding Tips:
- Start with Coarse Sandpaper: Begin with a coarse-grit sandpaper (around 80 grit) to smooth rough areas and edges.
- Finish with Fine Sandpaper: After smoothing the rough spots, move to a finer grit (220 or 320 grit) to achieve a polished surface. This will also prepare the plywood for painting or staining.
Finishing Techniques:
- Staining: If you prefer a natural wood look, use a wood stain to enhance the grain of the plywood. Apply the stain with a cloth and wipe off any excess for an even finish.
- Painting: Painting is a great option for a more vibrant or modern look. Choose a durable paint that can withstand wear and tear, such as furniture paint or acrylic latex.
- Varnish or Polyurethane: After applying your paint or stain, finish with a clear varnish or polyurethane to protect the surface from moisture, dirt, and scratches. Apply several coats for a durable finish.
Step 5: Budget-Friendly Additions and Enhancements
To further customize your plywood furniture and give it a high-end look on a budget, consider these additions:
- DIY Legs: If your design requires legs, you can create your own using additional plywood or purchase affordable premade legs from a hardware store.
- Decorative Details: You can add subtle decorative touches, such as stencil patterns, brass handles, or unique drawer pulls, which can elevate the design without adding much cost.
- Upcycled Materials: Consider incorporating upcycled materials like old metal hardware or reclaimed wood for a rustic, eco-friendly touch.
Step 6: Installation and Use
Once your furniture is assembled and finished, it’s time to use it! Whether it’s a sturdy bookshelf, a sleek coffee table, or a chic desk, plywood furniture is both functional and stylish. Make sure to place your furniture in its designated area and enjoy the fruits of your labor.
Conclusion
Building stylish and durable plywood furniture on a budget is not only possible—it’s highly achievable with the right planning, materials, and tools. Plywood offers a versatile, affordable, and sturdy foundation for creating custom furniture that fits your needs and design preferences. By following the steps outlined in this guide, you can create beautiful pieces that add character and functionality to your home without breaking the bank.
If you’re looking for high-quality plywood for your next DIY project, Wigwam offers a wide selection of plywood options, perfect for creating custom furniture designs that are both durable and aesthetically pleasing. With a little creativity and effort, you can turn plywood into a valuable design element in your home, all while staying within your budget. Happy building!